A well-chosen pergola turns unused space into a daily retreat. Shade lands where you sit, privacy improves, and the area gains a clear purpose. Follow a simple path to size the structure, compare materials and roof types, decide with clear criteria, and picture how it will elevate outdoor living across seasons.

Step 1: Plan Your Pergola for Outdoor Living: Budget, Size, Style and Site
Start with measurements. Sketch the footprint and note clearances. Leave 18 to 24 inches behind dining chairs and confirm a clean delivery path through gates and doors. Use the quick guide below to shortlist sizes.
| Patio use | Recommended footprint |
| Bistro set or grill nook | 10x10 pergola |
| Four-seat dining | 10x12 pergola |
| Lounge with sectional | 12x12 pergola |
Map the sun and wind. Rotate rafters or slats to block low western sun while keeping airflow. If power is nearby, place an outlet for a future motorized pergola and discreet lighting.
Plan the base and anchoring
- Anchor a pergola to concrete with wedge or epoxy anchors sized to the post base and slab strength.
- To install a pergola on pavers, add hidden footings or a core drill to concrete below. Loose surface anchors shift under load. In cold regions, footings should extend below the frost line. Call 811 before digging and check permits or setbacks with your city.
Budget by tiers. Separate essentials from upgrades. Essentials cover posts and the roof. Upgrades include side screens, curtains, and a pergola with LED lights. If you like to build, a DIY aluminum pergola kit helps control the schedule and cost.
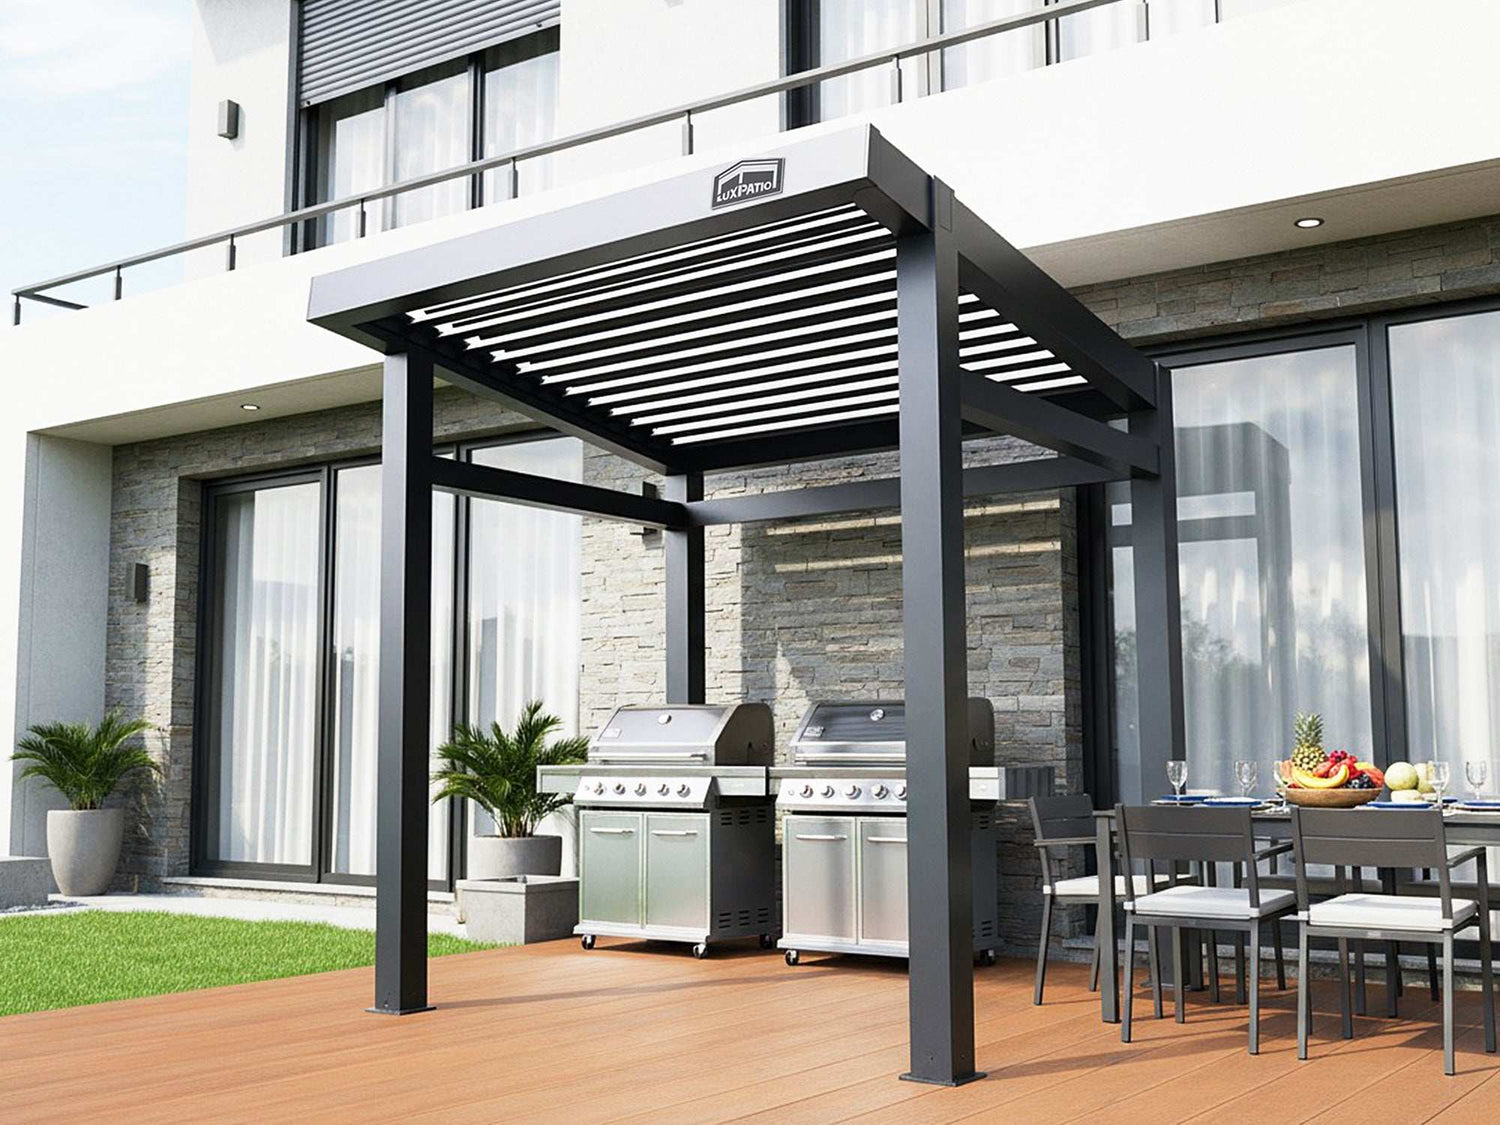
As a neutral benchmark, the LuxPatio Louvre L5 aluminum louvered pergola pairs 6063 T5 aluminum with AkzoNobel Interpon powder coat, tilt slats, integrated down post drainage, and optional motor with LED lighting. Treat this feature set as a reference when you compare quotes and confirm local rules.
Step 2: Compare Materials and Structure: Aluminum, Steel, Wood and Louvered Roof Basics
Choose Pergola material first, then refine structure. The table keeps options distinct and practical.
| Material | Core strengths | Watch points | Best fit |
| Aluminum | Corrosion resistance, lighter components, clean lines | Needs quality powder coat and verified load data | Coasts, poolside settings, low maintenance priorities |
| Steel | High stiffness and slim profiles with correct finishing | Requires galvanizing and durable coatings | Windy inland sites, custom spans |
| Wood | Warm texture and easy site customization | Regular sealing or stain cycles | Gardens and traditional homes |
Understand the roof. A louvered roof pergola tilts for sun and closes for rain. Water flows to hidden gutters, then down the posts, giving you a tidy pergola with drainage after showers. Slightly open slats above a grill bay or spa to vent heat and steam. For a clean look, pick a pergola with an integrated drainage system that hides downspouts inside the posts. An adjustable louvered pergola also lets you balance shade and airflow on mild afternoons.
The approach used here relies on architectural 6063 T5 aluminum finished with AkzoNobel Interpon powder coat that resists corrosion and color fade. Components stay lighter during installation and cleaning stays simple. Common sizes such as 10x10, 10x12, and 12x12 cover most patios, and electric tilt with lighting keeps evenings comfortable. If your county lists snow or wind requirements, ask for stamped engineering so an aluminum louvered pergola matches local loads.
Step 3: Decide with a Clear Checklist, Cost Maintenance, Climate Installation and Warranty
Smart decisions come from matching real-world constraints to what you value most. This stage connects climate, upkeep, site conditions, and budget so the pergola you buy truly fits outdoor living. Start with the quick decision grid, then run the core checks, align quotes, and confirm install readiness. The result is a choice that avoids surprises on delivery day.
| Factor | If this sounds like you | Lean this way | Notes |
| Climate | Coastal or humid | Aluminum with quality powder coat | Strong corrosion resistance and light upkeep |
| Snow and wind | County posts snow or wind requirements | Models with stamped load data and correct pitch | Ask vendors for local engineering |
| Upkeep | Little time for maintenanceLittle time for maintenance | Aluminum | Simple cleaning keeps surfaces fresh |
| Aesthetics | Prefer warm natural texture | Wood | Plan seasonal sealing or stain |
| Spans and stiffness | Wide openings and slim posts | Steel or engineered aluminum | Verify coating system to limit rust |
Core checks before you order
- Confirm footing depth, post count, fastener grade, and corrosion resistance for your base type.
- Map power early if tilt control or lighting matters, then plan conduit routes for clean surfaces.
- Verify permit needs, HOA rules, and property line setbacks with your city.
- Build a total cost view that includes kit, delivery, hardware, installation, and future care.
- List must-haves and nice-to-haves so the scope stays focused when you compare quotes.
Align quotes the right way
Ask every vendor to price the same spec. Match roof type, metal thickness, coating system, documented loads, hardware list, and service terms. When line items match, price comparisons mean something.
Installation readiness
- Schedule site prep and confirm slab strength or footing plan.
- Walk the delivery path through gates and doors to prevent snags.
- Set a simple test plan for handover that checks louver tilt, drainage flow, and lighting.

Step 4: Envision Use Cases for Outdoor Living Garden, Backyard Patio, Outdoor Kitchen and Spa Cover
People use pergolas in different ways. Anchor the design to routines you care about, then add the details that make time outside comfortable. Use the layouts below as starting points and adapt them to your yard.
| Use case | Layout focus | Helpful add-ons |
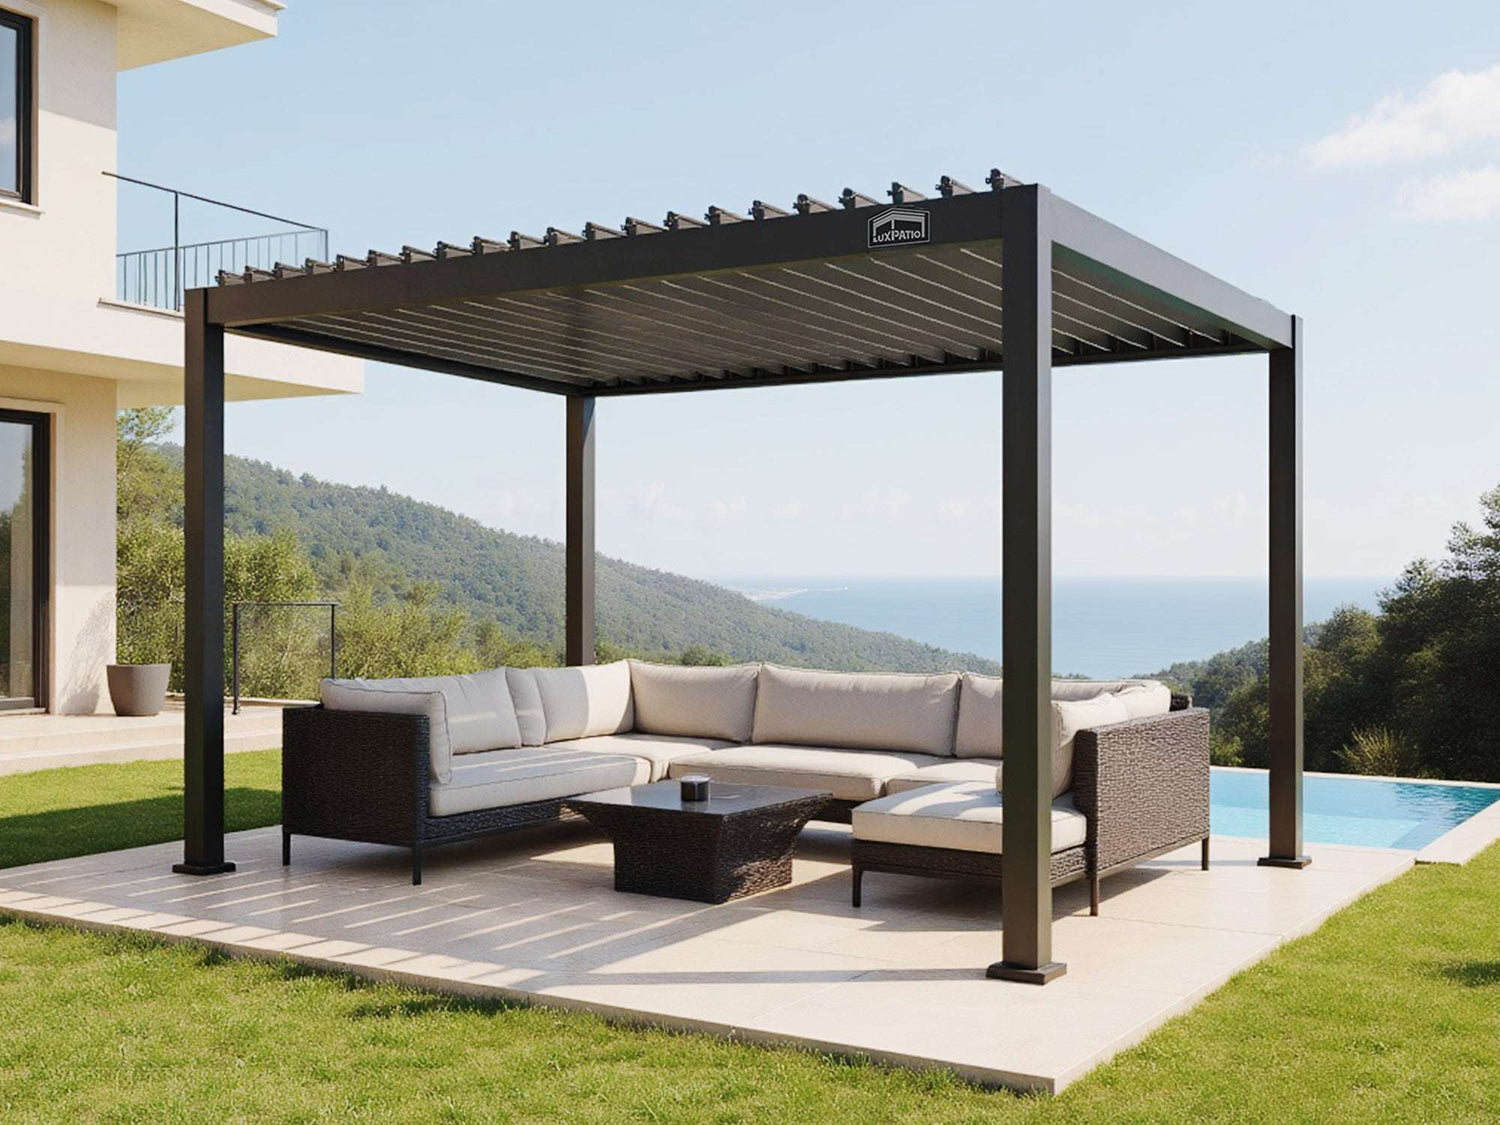
| Backyard lounge | 12x12 zone with sectional and low table, slats turned against late sun | Dimmable ambient lights and privacy curtains |
| Dining zone | 10x12 over a four-seat table, 36 inches of chair clearance | Warm white strip lighting and side screens for breeze control |
| Garden retreat | 10x10 along a path or bench with vines kept clear of slats | Trellis side panels and drip irrigation for plants |
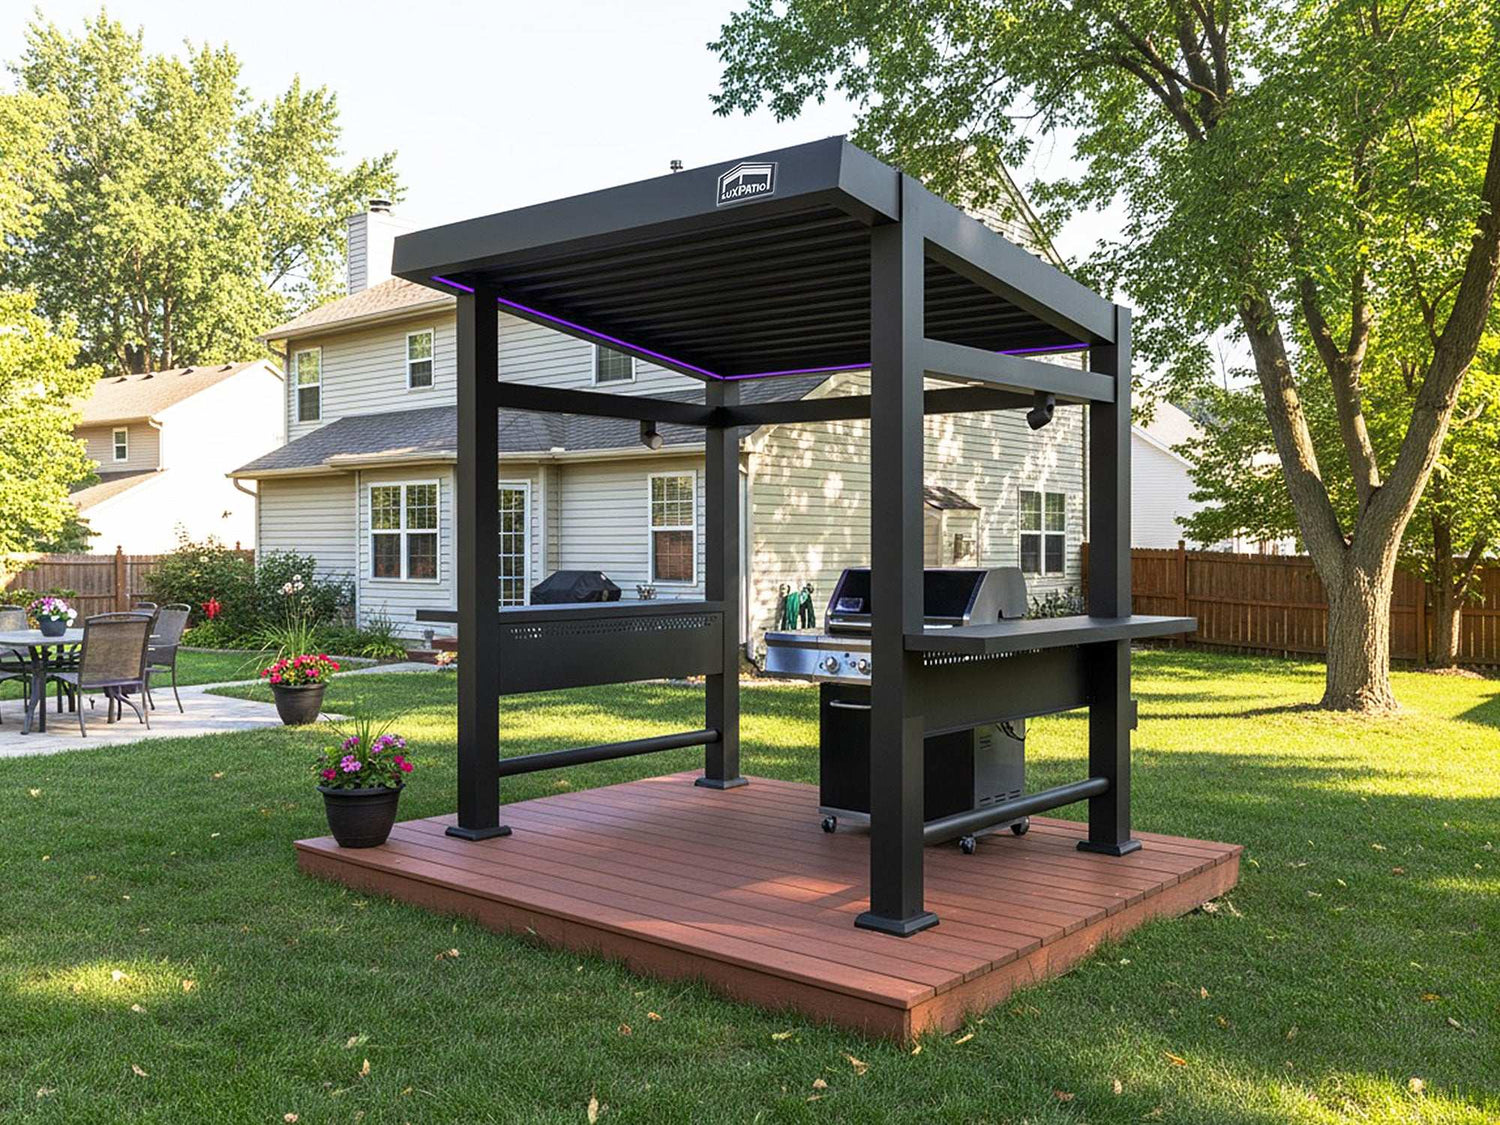
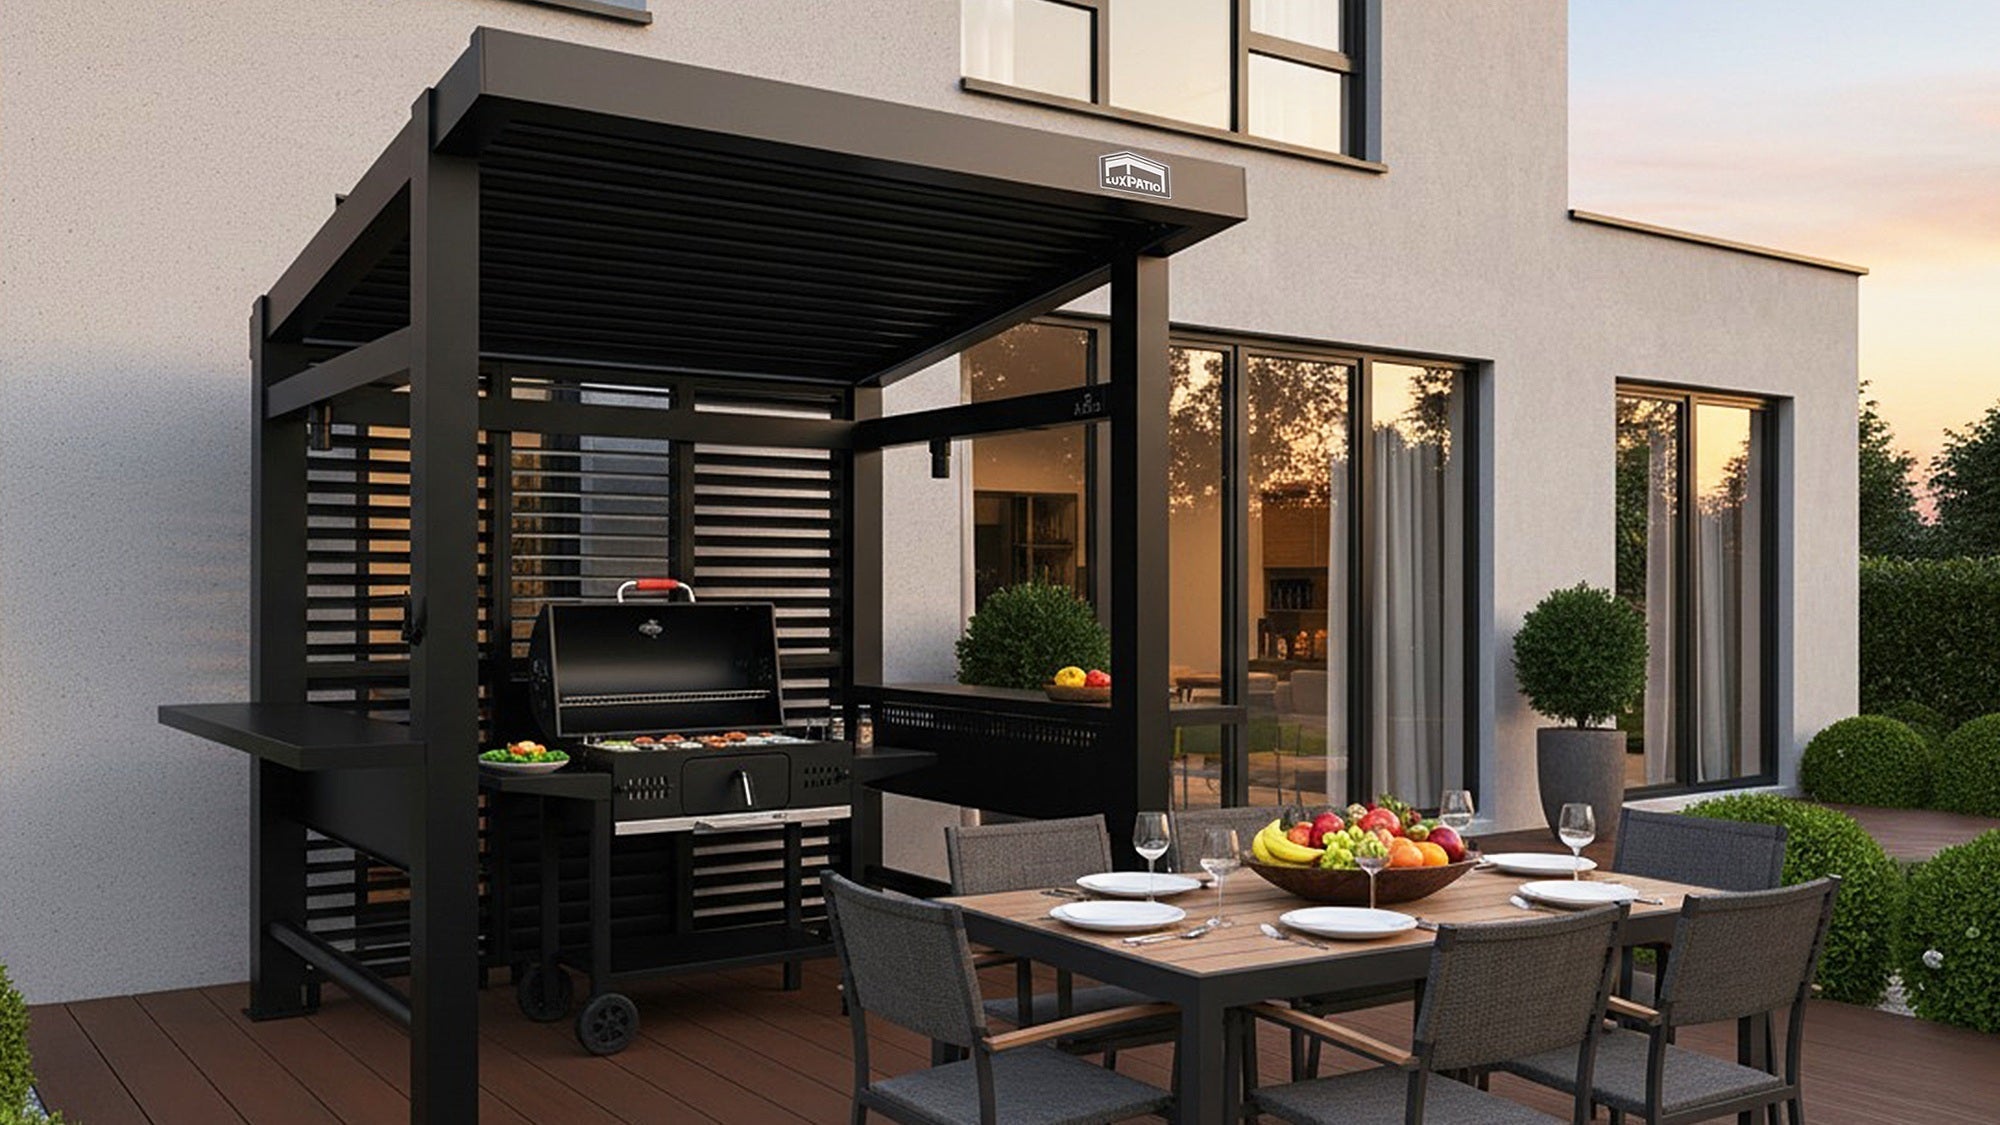
| Outdoor kitchen | Roof clear of the hood outlet and safe clearances around the grill | Heat-tolerant shade screen near the cook zone and task lights over the prep |
| Spa privacy | Tub centered under slats with a small vent gap | Privacy screens, non-slip path lighting, and soft uplights for mood |
Quick placement tips
Face the structure to catch prevailing breezes while shading the hottest exposure. Keep clearances around doors, grills, and furniture aisles so the area flows. Use side screens where neighbors overlook your yard while leaving airflow at the top. Layer lighting with ambient for evenings, task for cooking, and low-level path lights for safety.
Make it yours
Set scenes for typical days. Morning coffee under gentle light, weeknight grilling with task lighting, or a steam-friendly spa session with slats cracked open. When the layout reflects how you live, the pergola becomes part of daily outdoor living.
Make Your Next Move for Outdoor Living
Measure the site twice, then shortlist by material and roof type that fit outdoor living in your climate. Confirm base and anchoring, wiring routes, permits, and load data. Request two or three quotes with identical specs, choose the team, and schedule installation. When louvers tilt smoothly and the lighting feels right, the space shifts from idea to habit, from quick lunches to long dinners with friends.
FAQs about Pergola
Q1. Do I need to ground a metal pergola?
Yes. Bond the metal frame, motor housing, and lighting to the home’s grounding system using listed lugs and a continuous copper conductor. This reduces shock risk and equalizes potential. It is not a lightning-protection system; consult a licensed electrician.
Q2. What electrical spec is best for a motorized pergola outdoors?
Use a GFCI-protected circuit, wet-location boxes with in-use covers, and THWN-2 conductors in PVC conduit. Keep low-voltage lighting wiring separate from line voltage, add drip loops at entries, and provide a disconnect within sight for service. Hire a qualified electrician.
Q3. How should I handle drainage from hollow posts to the yard?
Transition each post outlet to a solid pipe or a flexible adapter, then route to daylight or a French drain. Maintain about 1% fall, add a cleanout near the first elbow, and keep discharge away from foundations. Do not tie into sanitary sewer lines.
Q4. How much thermal expansion should aluminum framing allow?
Aluminum expands roughly 23 micrometers per meter per °C. A 3-meter beam can change about 2 millimeters over a 30 °C swing. Use slotted holes or isolation washers where specified, avoid rigid caulking at slip joints, and follow the manufacturer’s gaps.
Q5. Can automation improve safety and convenience?
Yes. Pair motors with rain and wind sensors: auto-close on rain, relieve uplift by opening under high winds, and add obstruction detection. Include manual overrides and, if available, a small backup battery so louvers can close during short power outages.