Sun on your shoulders, friends around the table, and a menu that tastes like summer. That is the promise of outdoor cooking, and it gets easier when layout, tools, and heat source work in sync. This guide shows how to plan a smart space, pick equipment that suits your style, cook with confidence, and keep everything in top shape for the next gathering.
How to Lay Out an Outdoor Kitchen That Works?
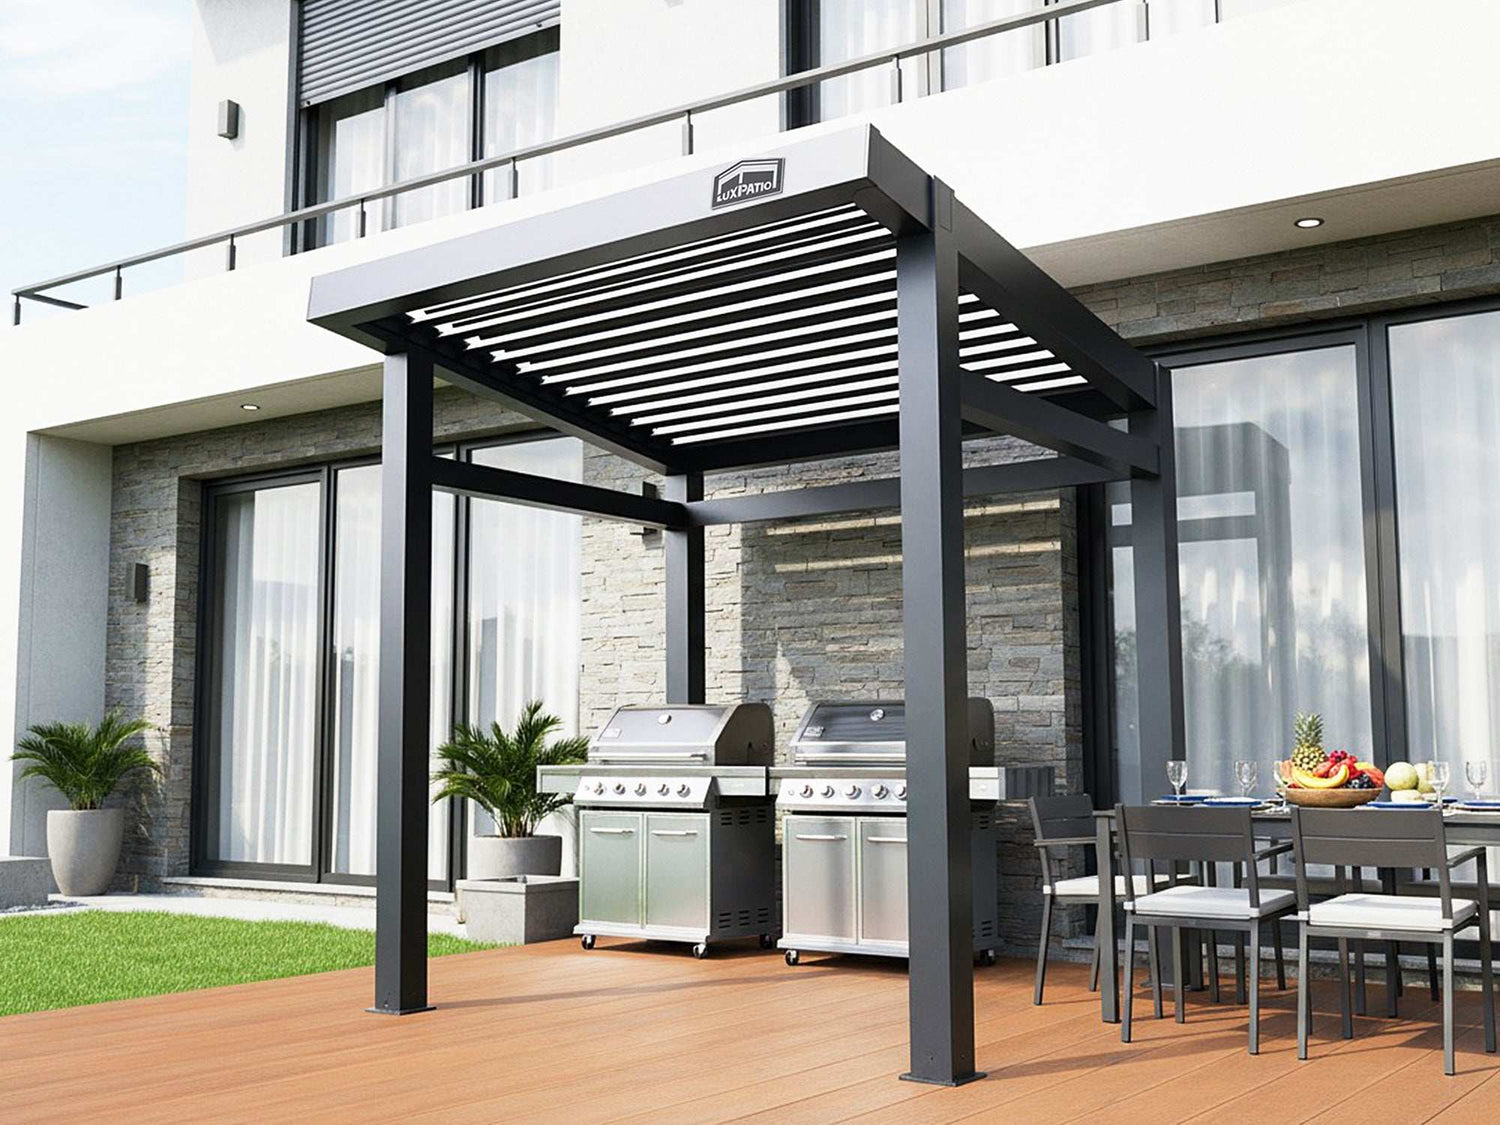
Crowded patios make good food feel stressful. A simple zoning sketch turns that around and gives the cook room to breathe. Guests find their lane, the hot area stays calm, and you enjoy the evening instead of directing traffic. Plan outlets and fuel access around that sketch so hookups stay simple and safe, and meeting clearances feels effortless.
Core layout tips:
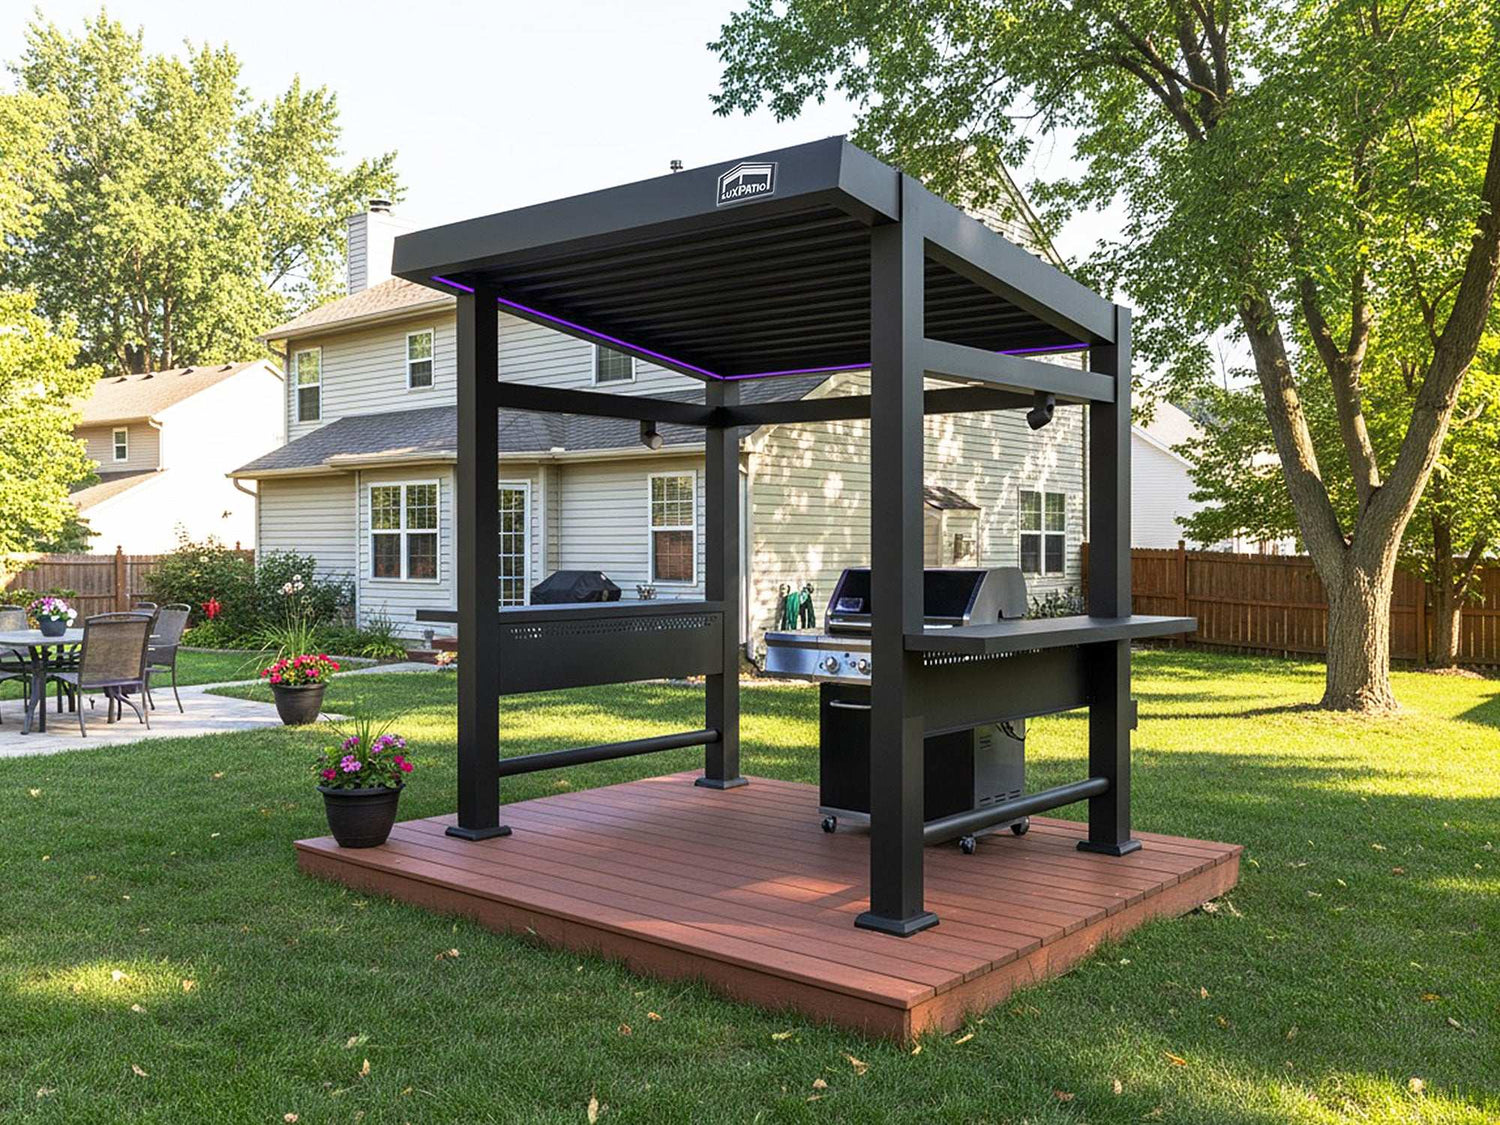
- Hot zone: place the grill or main cooker where cross-breezes are manageable and smoke exits cleanly; keep overhead and side clearances per the manual.
- Prep zone: add counter space on the latch-hand side of the grill for trays and boards; include a spice shelf or magnetic strip for tools. No more drawer diving mid-sear.
- Cold zone: position a compact fridge or cooler drawer away from the fire to hold steady temps.
- Clean zone: plan for a sink or bus-tub plus trash and recycling pull-outs.
- Flow: create a path for guests that skirts the hot zone; add task lights near the cook surface and softer lighting for seating.
If wind complicates heat control, use tall planters or a low screen as a wind break. A venting canopy or louvered cover extends usable hours by shedding light rain and moderating the sun.

Grill Equipment and Barbecue Gear Essentials
Every backyard has limited space, so let your kit grow with your menu. Lock in a handful of tools you will use every week, then add pieces that solve a real problem. You will thank yourself on a busy Saturday. Every new tool should make weekends easier, not clutter the station.
- Thermometers: one instant-read for steaks and chops; one leave-in probe for roasts and slow cooks.
- Tools: long tongs with a strong spring, sturdy spatula, scraper, replaceable-head grill brush, heat-resistant gloves.
- Fuel aids: chimney starter for charcoal; tank scale or spare cylinder for gas; airtight bin for pellets.
- Cooking surfaces: standard grates for sear marks; a cast-iron or carbon-steel plate for smash burgers, fajitas, and vegetables.
- Add-ons as you grow: rotisserie kit, rib rack, pizza stone or steel, smoker box for gas setups, basket for delicate fish.
This list covers the core tools you will use most weeks, while selective add-ons expand capacity for parties without overwhelming storage. If a tool does not earn its spot in two or three cooks, park it on a shelf instead of the main station.
Charcoal, Gas, or Pellet: Which Grill Fits Your Cooking Style?
Picture your weeknights and weekends for a moment. Some days call for quick, steady heat, others invite slow smoke and a longer hangout. Pick a grill that matches that rhythm, then layer in technique as you go. Once the match is right, consistent results come faster.
| Grill Type | Strengths | Learning Curve | Best For | Upkeep |
| Charcoal | Intense sear, flexible two-zone control, rich smoke | Moderate | Steaks, wings, reverse-seared roasts | Ash removal; vent practice |
| Gas | Quick preheat, steady temps, easy multi-course timing | Low | Weeknight dinners, mixed menus | Burner and igniter checks |
| Pellet | Set-and-hold temps, gentle wood flavor, long smokes | Low to moderate | Brisket, pork shoulder, ribs, overnight cooks | Dry pellet storage; ash vacuum |
- Prefer hands-on firecraft and steakhouse crusts → charcoal with a reliable chimney routine.
- Want dinner in 20 to 30 minutes after work → gas for predictable output and wide temperature bands.
- Planning briskets and pulled pork for weekend crowds → pellet for long, stable sessions.
Still torn between two choices? Borrow a friend's setup for a weekend and take notes. Real meals beat spec sheets.
Pizza Ovens, Smokers, and Flat-Top Cooking Options
The main grill carries most dinners, yet a small upgrade can change the vibe of the whole night. A pizza oven brings cheers, a smoker keeps guests curious, and a flat-top turns breakfast or burgers into a crowd-pleaser. Pick the one that suits your space today, then rotate others in as your style evolves. Variety grows without turning the patio into a warehouse.
How each option helps:
- Pizza ovens: high deck temps crisp the base before toppings dry; let dough relax at room temp, dust the peel with fine semolina, and launch when the stone is at target heat. First pie of the night disappears fast, so queue a second dough ball before you light the fire.
- Cabinet or barrel smokers: steady low temps create tender ribs, turkey breasts, and salmon; use a water pan for moisture and choose wood that complements the protein.
- Flat-top plates: breakfast spreads, smash burgers, stir-fried noodles, and vegetable medleys; preheat until a drop of water dances, oil lightly, and scrape between batches.

Outdoor Cooking Safety and Fire Management
Good meals rely on good habits. Build a simple routine and repeat it every time. Follow local rules and the appliance manual for clearances and ventilation.
Safety checklist
- Place a multi-purpose fire extinguisher where you can reach it quickly, ideally along the exit path from the cook area.
- Keep a three-foot kid and pet buffer around hot equipment.
- Set appliances on level, non-combustible surfaces.
- Check gas connections at season start with a soapy-water test.
- Store charcoal dry; cool ashes fully in a metal container before disposal.
- Food safety targets: poultry 165°F, whole cuts of pork and beef 145°F with a short rest, and ground meats 160°F.
- Use long sleeves or forearm guards near high heat, add non-slip mats by the station, and aim task lighting at the grate at dusk.
These habits reduce risk and keep outdoor cooking as relaxed as indoor meals.
Recipes, Marinades, and Flavor Profiles for Outdoor Cooking
Great plates land together, hot and happy. Map the cook like a short set list: one star protein, two sides that share a temperature range, and a bright finish that wakes up the whole plate. Write brief timing on painter's tape along the shelf so everyone sees the plan at a glance. The grill stays productive and plates land at once.
Dry rubs, marinades, and brines
- Dry rubs deliver a savory crust. Balance salt with aromatics such as paprika, garlic, and black pepper.
- Marinades add brightness. Keep salt moderate, include an acid like citrus or vinegar, or use yogurt for tenderness, and reserve a clean portion for brushing at the end.
- Brines help lean cuts retain moisture. Use for pork loin, turkey breast, or chicken pieces, then pat dry before cooking.
Flavor guides
- Classic American: brown sugar, paprika, onion, black pepper, and a touch of cayenne.
- Latin-leaning: orange and lime with cumin, oregano, and cilantro stems.
- Mediterranean: lemon zest, olive oil, rosemary, thyme, and cracked pepper.
- East-Asian-leaning: soy or tamari, ginger, scallion, and miso or gochujang for depth.
Sample menus
- Family night: bone-in chicken thighs, grilled corn salad, rosemary potatoes, lemon-yogurt sauce.
- Friends' cookout: flank steak with chimichurri, charred green beans with almonds, and garlic bread on the top rack.
- Thirty-minute plan: salmon fillets, asparagus on the plate side, and couscous tossed with herbs.
Maintenance and Care for Your Outdoor Cooking Area
Shiny grates are not just for looks. Clean gear heats evenly, food releases more easily, and the next cookout starts without fuss. Set a light routine that fits your calendar and stick with it. Small habits prevent flare-ups and protect finishes, which means fewer surprises when guests arrive.
After each session
- Brush warm grates and oil lightly to prevent sticking next time.
- Empty grease trays; check for buildup around burners or air inlets.
- Wipe adjacent counters and fascia with mild soap and water.
Weekly or every few cooks
- Inspect gas burners for even flame; clear clogged ports with a thin wire or brush.
- Vacuum pellet fire pots and ash pockets once cool.
- Scrape and re-season cast-iron with a thin coat of high-smoke-point oil. Keep a small caddy with a brush, scraper, oil, and towels by the station. If it lives nearby, you will actually use it.
Seasonal care
- Deep-clean grates, flavor bars, and drip systems.
- Reseal stone or concrete counters if the manufacturer recommends it.
- Check fasteners and surface hardware for corrosion; cover appliances with breathable, fitted covers that allow moisture to escape.
A tidy station invites frequent use and trims setup time on busy days.
Take Your Cooking Outdoors and Savor the Flavor
Choose a layout that fits your patio, equip it with tools you will use weekly, and settle on a heat source that suits your pace. Keep a short safety list and a simple cleaning routine nearby. With a few smart choices and steady practice, your patio turns into a dependable kitchen for every season. That consistency is the heart of a well-run backyard kitchen.

FAQs about Summer Grilling
Q1: What grill size fits my crowd?
Plan 400–500 sq in primary grate for 4–6 diners; 600–700 sq in for 8–10. Prioritize even heat and lid depth. BTU-per-inch metrics are less predictive than heat distribution and recovery.
Q2: Do I need a vent hood under a covered patio?
Under a covered patio, size the hood grill width +6 in each side, mounted ~36 in high. Large gas setups often need 1,200–1,600 CFM with baffle filters; confirm local code.
Q3: How does altitude change grilling or smoking?
At 5,000+ ft, water boils lower, evaporation rises, and cooks run longer. Raise pit temps 10–25°F, use water pans, denser fuel, and tighter vents. Verify thermometers; expect slower bark formation.
Q4: How do I winterize outdoor-kitchen plumbing?
For freezing climates, drain and blow out supply lines, open low-point drains, and pour RV antifreeze into traps. Disconnect ice makers and hoses. Label shutoffs so spring startup stays simple.
Q5: How can I manage food allergies at a cookout?
Prevent cross-contact by dedicating tongs and boards, cleaning grates before service, and using grill mats or foil barriers. Label sides for gluten, dairy, and nuts. Keep allergen-safe platters on a shelf.