It’s Saturday brunch on the patio. The chairs stay cool, the page reads clean, and the conversation keeps going. That is the benefit of a good pergola design. It shapes light and airflow so the space works in July heat and on crisp fall evenings. Shade protects cushions and decking. A simple lighting plan turns a quick meal into an easy dinner. Most of all, the structure makes the yard feel finished, like the last puzzle piece finally clicked into place.
Types of Pergolas: Manual, Motorized, and Use Cases
Start with control, then match the pergola to how you live. Manual louvered pergolas use a hand crank to open and close the roof. They are simple and avoid wiring. Motorized pergolas adjust at the touch of a button, which is great when guests arrive and the sun shifts. The table below can help you choose the right pergola for yourself.
| Type | Best for | What it feels like |
| Manual louvered | Townhomes, secondary patios, budget-friendly projects | Turn the handle, set the louvers, relax. No power planning. |
| Motorized louvered | Daily dining zones, pool decks, larger families | Tap to fine-tune shade and ventilation through the day. Plan for an outdoor switch and protected wiring. |
Use cases:
- Patio shade hub: Frame a seating group and keep a clear walking path of about three feet.
- Outdoor kitchen pergola: Place the louver field over the grill and prep counter, add task lights, a weather-rated outlet.
- Poolside lounge: Angle slats to block midday glare, then reopen for sunset.
- Spa corner: One privacy panel on the windward side makes a small area feel calm.
Powder-coated aluminum and internal drainage in the posts handle rain and coastal air well. Clean lines pair nicely with contemporary pergola designs.

Top 5 Pergola Design Ideas for Outdoor Living
Unsure where to start? Try one of these patterns, then scale up or down to fit your yard.
Modern Minimal Black
Square posts, slim beams, warm white downlights. Keep furniture low and cohesive in color. This design of pergola blends with brick, stucco, and modern siding while keeping the view uncluttered.
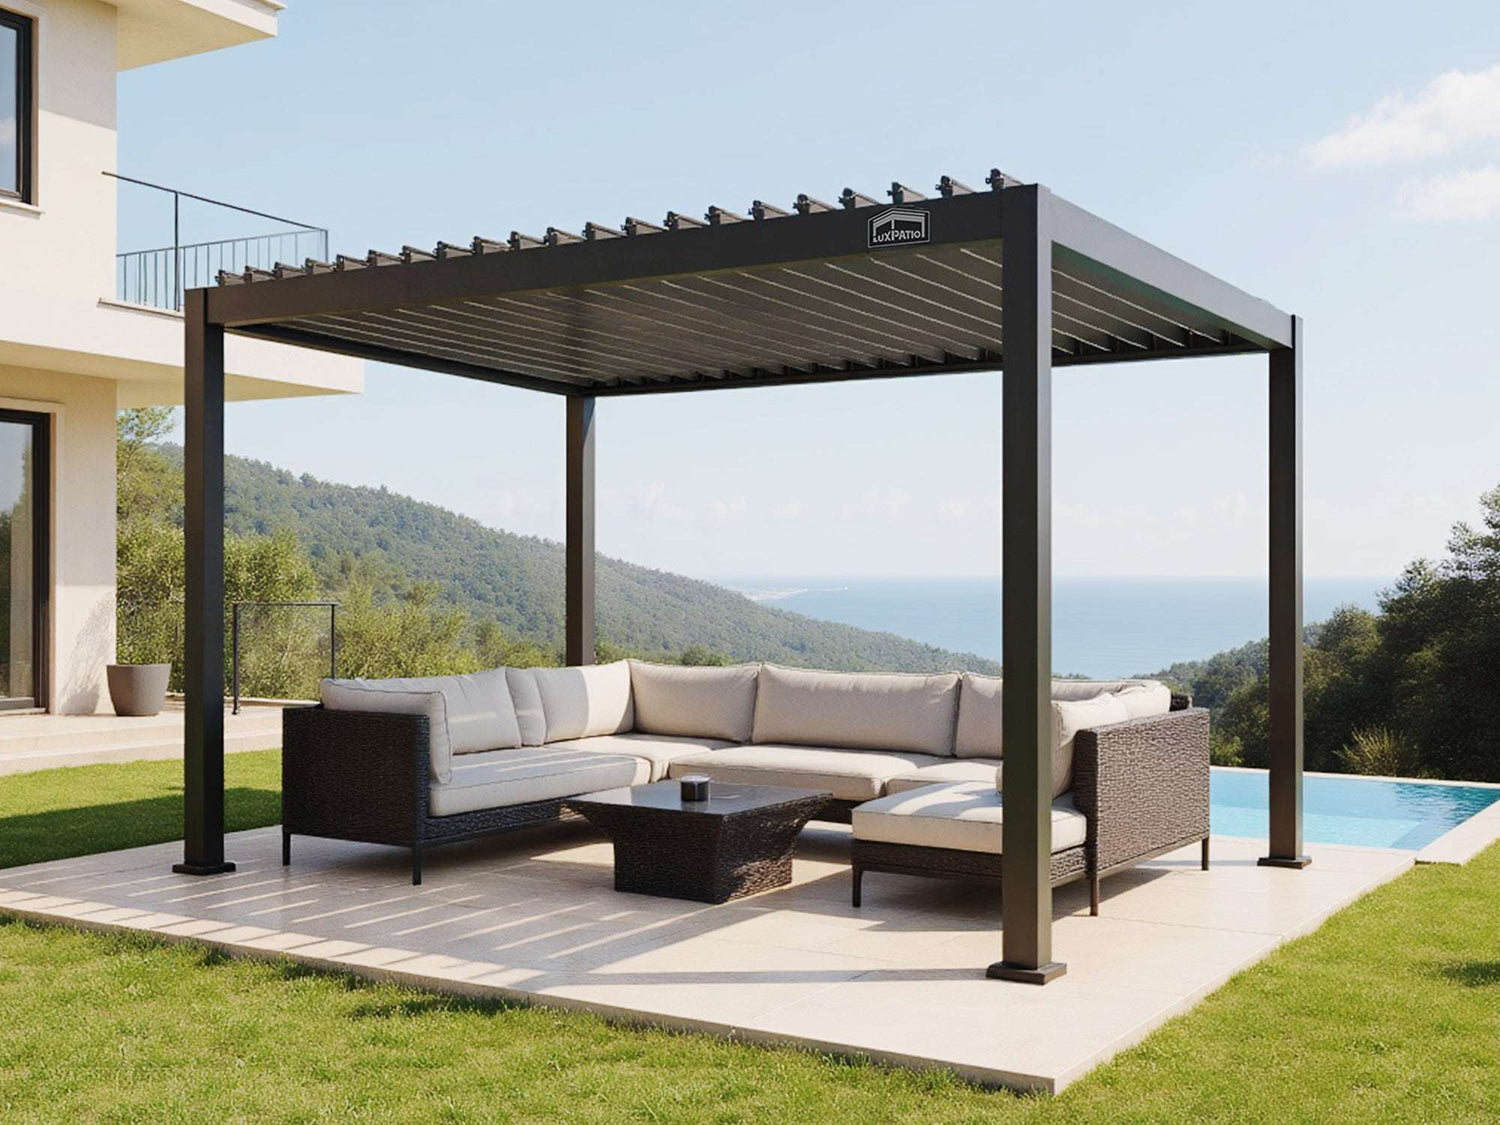
Poolside Retreat
A light frame near the water with a slatted side on the west edge to soften the late sun. Add two chaises, a small table, and a quiet ceiling fan for a breeze during still afternoons.
Alfresco Dining Nook
Center the table under the louver field. Aim a pair of adjustable fixtures at the tabletop and keep softer ambient lights around the perimeter. A narrow console along one post collects serveware so the table stays open.
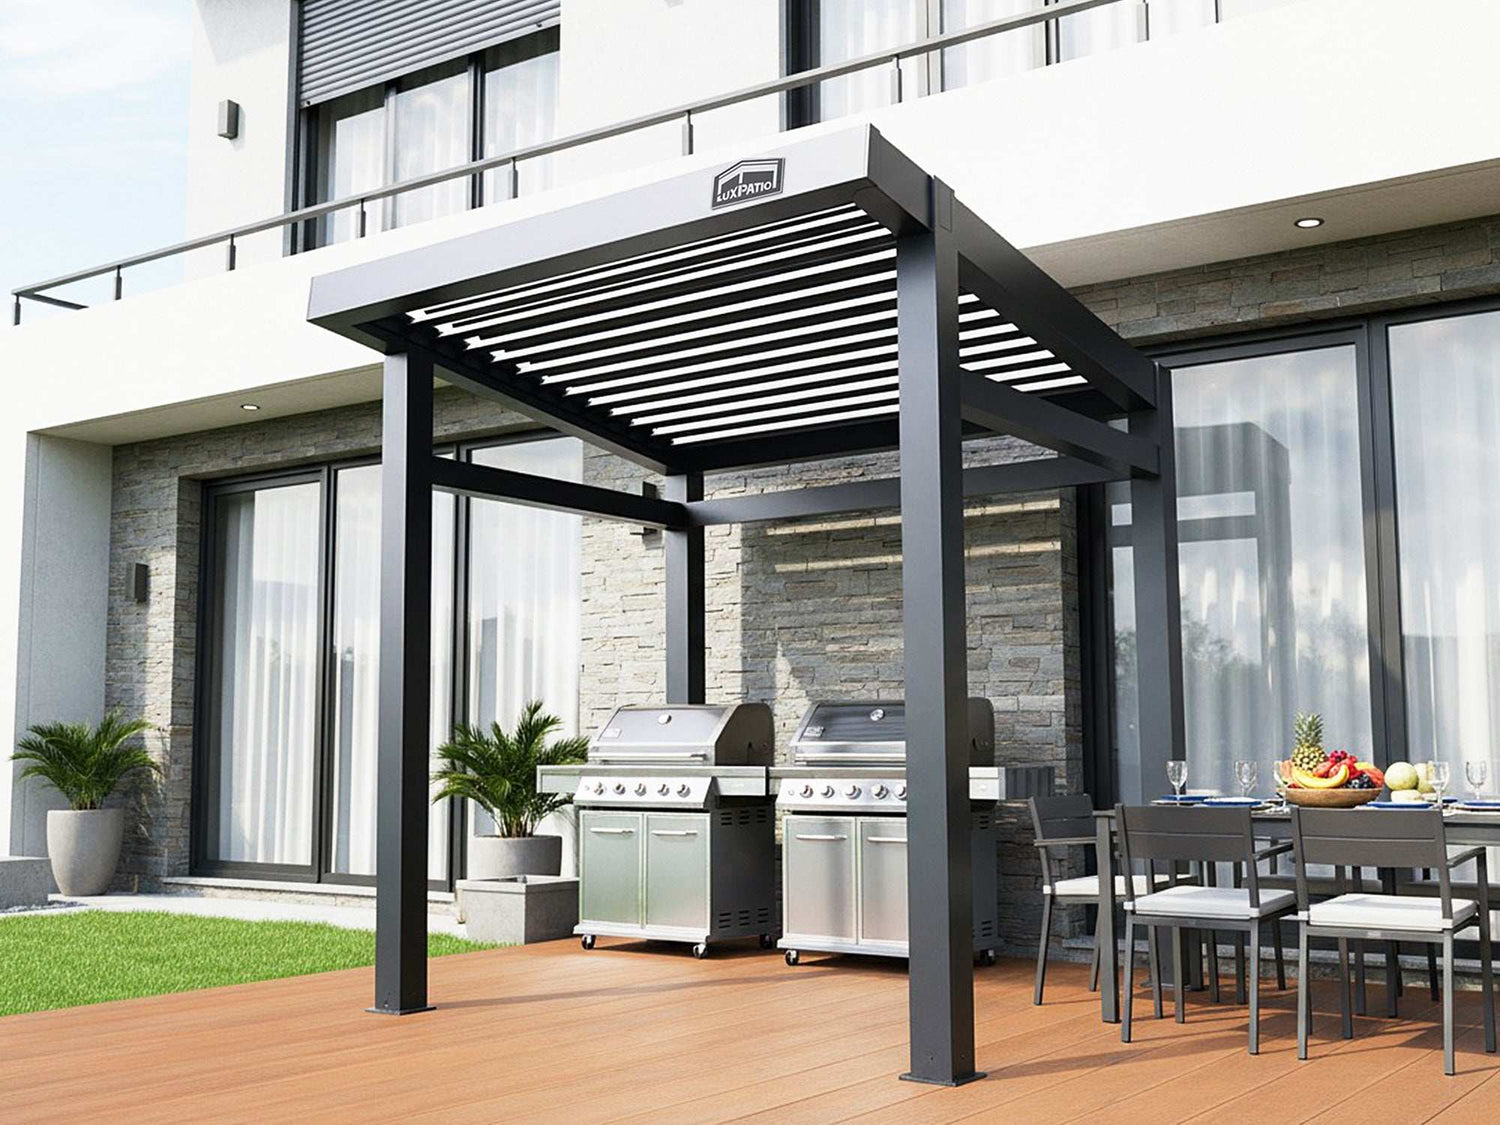
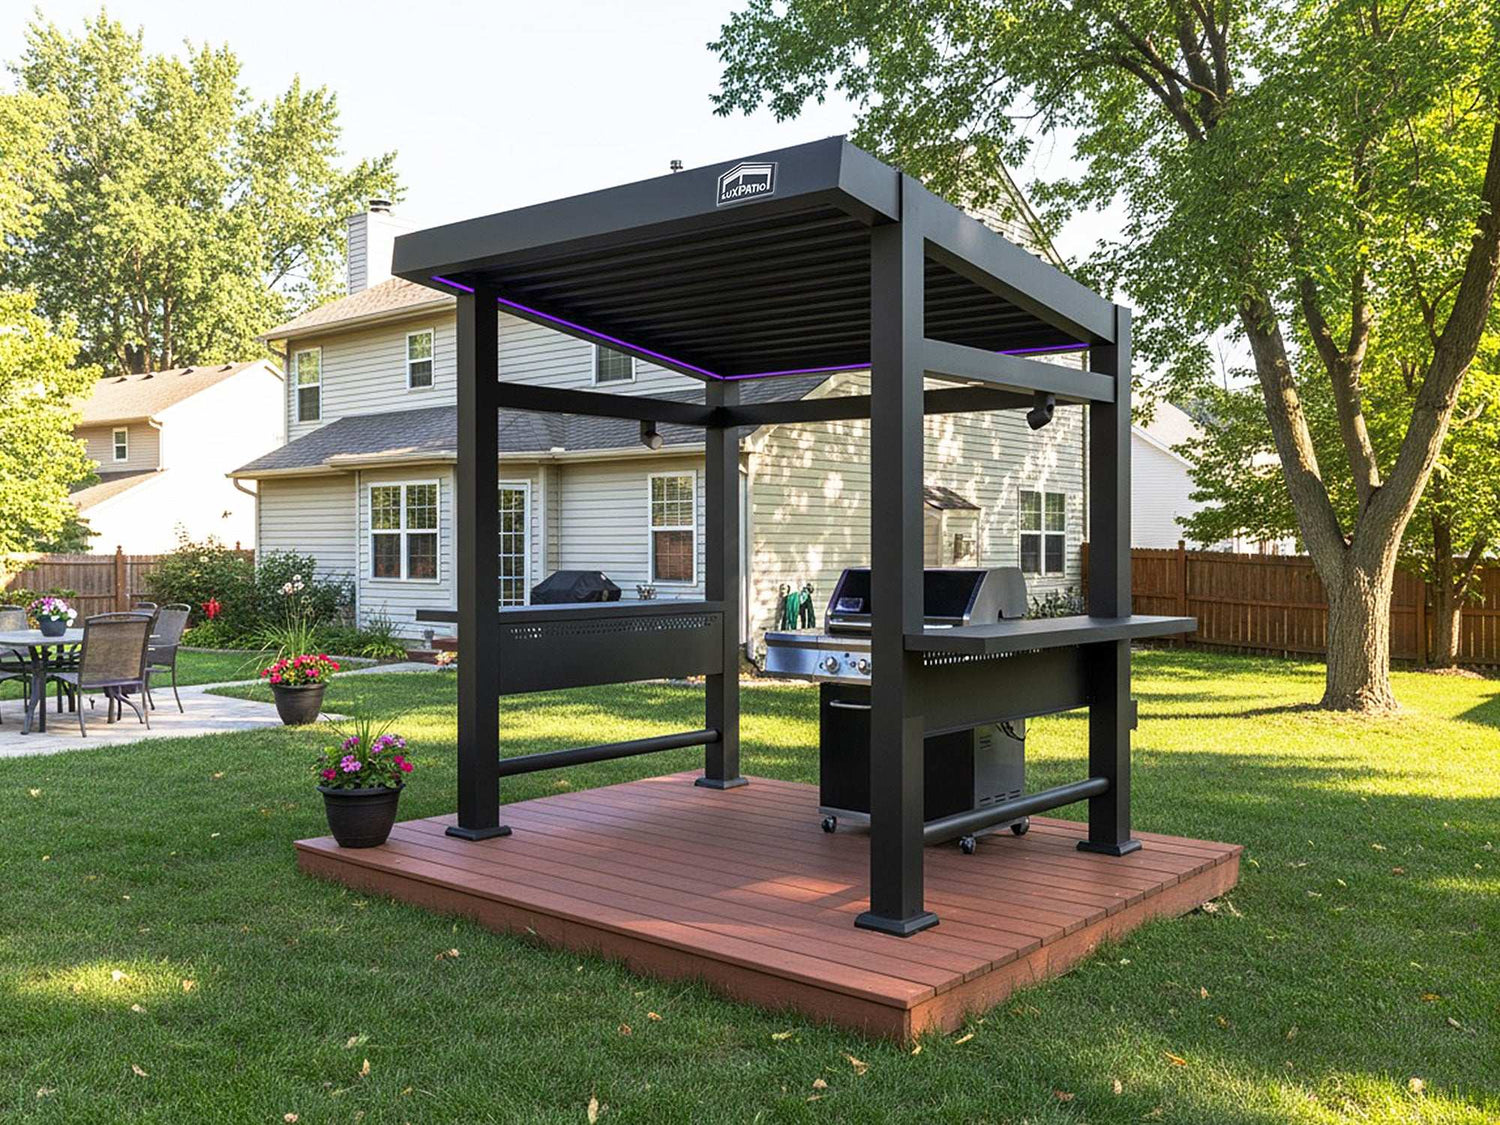
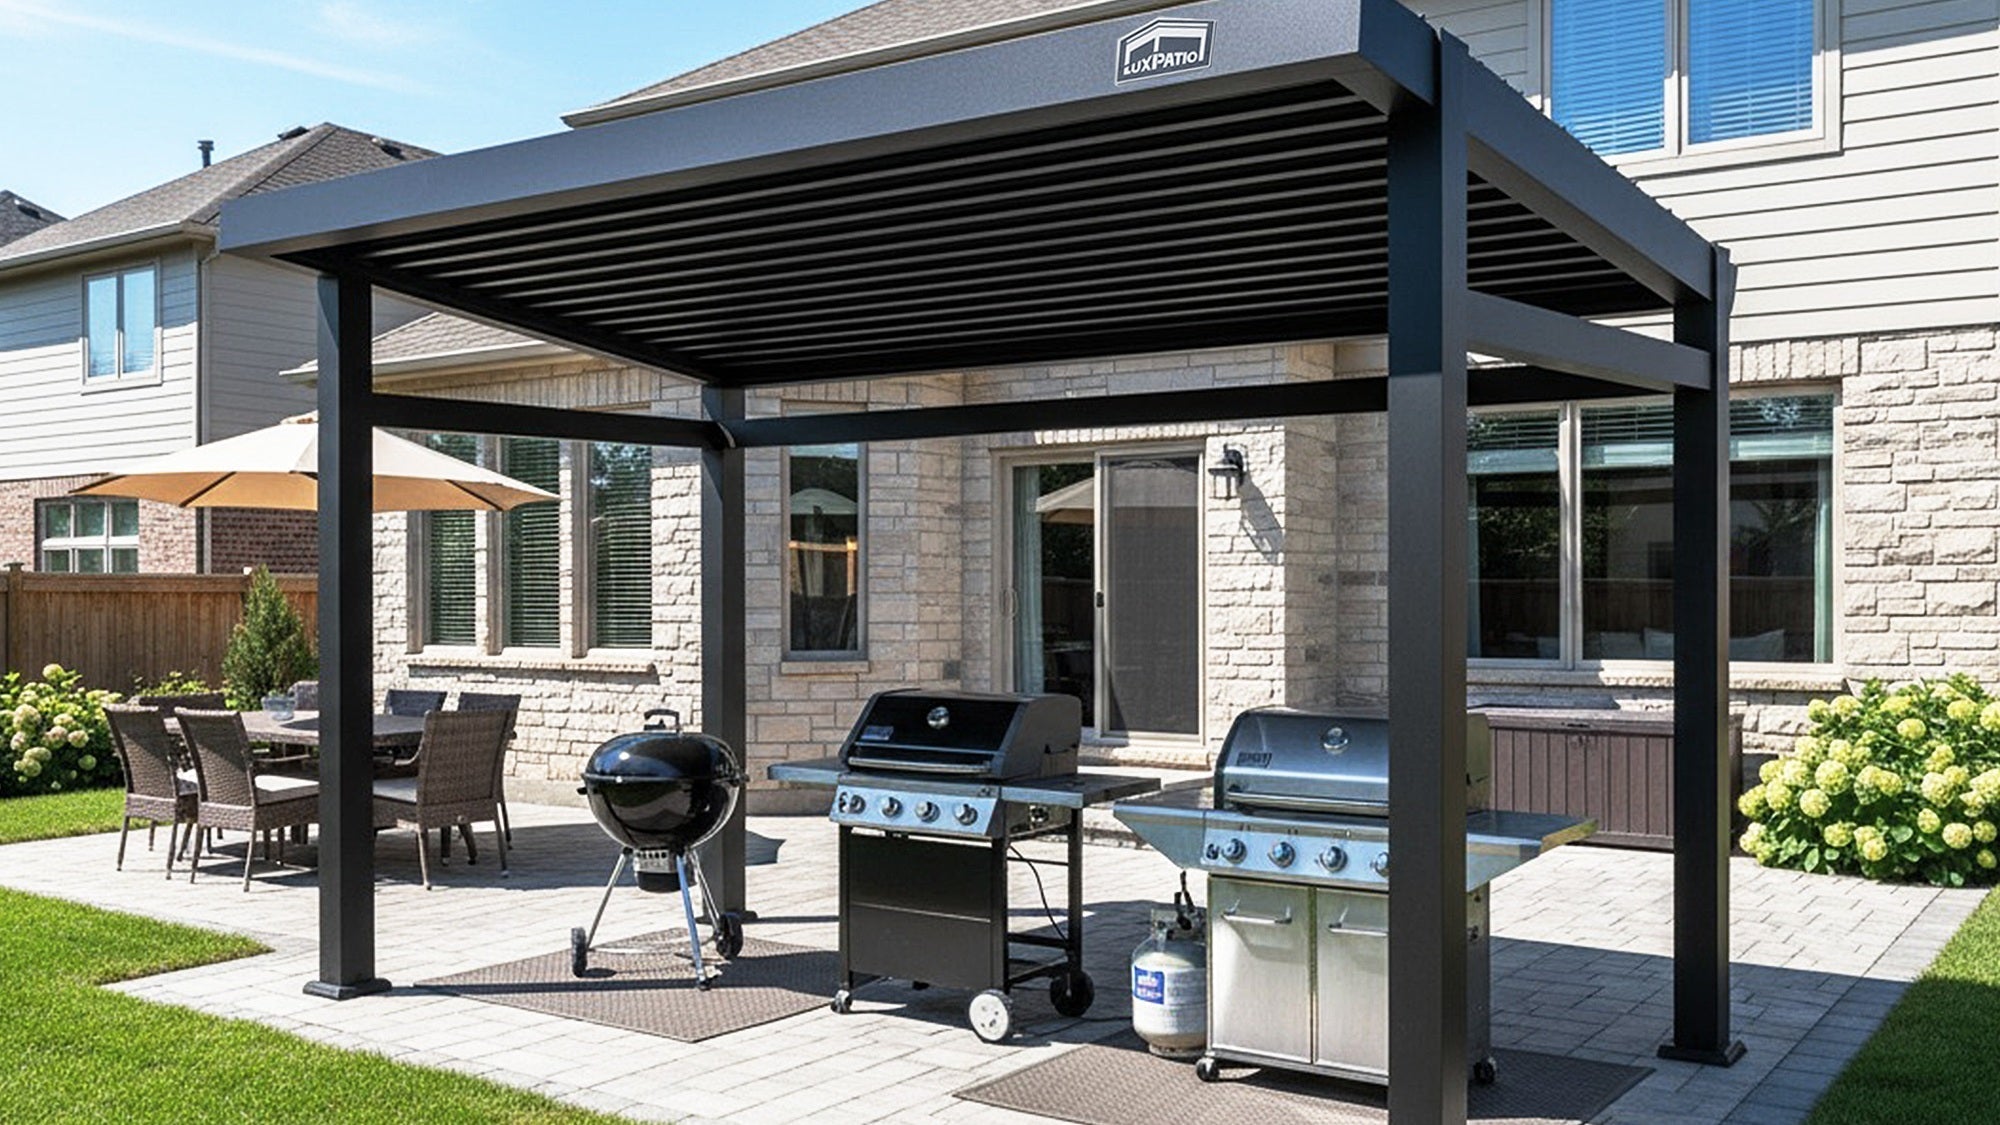
Grill Master Station
Set the grill under an openable section, prep counter along a post, and a weather-rated outlet at elbow height. Keep your steps short by placing the cooktop, sink, and fridge in a tidy working triangle.
Townhome Compact
A 10×10 footprint with a loveseat, two chairs, and a petite fire table. Choose manual control to skip wiring. Add one privacy screen facing the neighbor line and a sleek light along the beam. Small space, big comfort.

Small-Space Pergola Planning: 10×10 Layouts and Townhome Tips
Compact patios shine when every inch has a job. A focused pergola design brings order without crowding people out.
Plan the flow
- Leave a straight path from the door through the seating group.
- A 10×10 module fits a six-person table or a loveseat with two chairs.
- Put one dimmable light in the center and another closer to the entry edge. Guests see where to step at night.
Privacy and shade
- One slatted side wall is usually enough. It softens views without boxing you in.
- A tall planter near a post adds screening and color.
- On south-facing patios, lighter frame and cushion colors reflect heat.
Power and storage
- If you add electricity, route a protected line to a GFCI outlet about knee height. Keep cords off the floor.
- A slim deck box doubles as a side table and hides throws, games, and covers.
These choices deliver the benefits of premium pergola designs while keeping scale, cost, and maintenance under control.
Installing a Pergola: Site Prep, Footings, Wiring & Permits
A smooth install starts with a simple plan. Before you place the order, sketch the layout, confirm utilities, and line up the right help. Then work through these four tasks:
- Site prep: Level the pad, clear roots and debris, and make sure surface water flows away from the house. Mark posts before drilling or digging.
- Footings & anchors: Set posts on concrete footings appropriate to local code. For deck installs, add blocking under the boards and use structural outdoor anchors. Check plumb from two directions as each post goes in.
- Wiring & controls: If lights or a motor are planned, hire a licensed electrician to run a dedicated outdoor circuit with GFCI protection. Use weather-resistant boxes, seal penetrations, and keep low-voltage lines separate.
- Permits & inspections: Confirm permits, setbacks, and any HOA rules before ordering. Save spec sheets and a simple drainage sketch, then schedule footing, electrical, and final inspections as required.
Done right, louvers move smoothly, water drains cleanly, cleaning happens regularly, and the pergola design you chose stays protected for years.
Your Dream Patio Starts with the Right Pergola
Begin with your habits. Morning coffee or long dinners. Quiet reading or weekend crowds. Choose a pergola design that supports those moments, then size the frame and features to your climate and budget. A small space might thrive with a 10×10 manual unit, one privacy panel, and two thoughtful lights. A larger terrace might call for a motorized system that shifts with the sun and powers prep tools and music. Measure carefully, plan utilities early, and let the structure do the heavy lifting. With a bit of care, pergola designs turn a plain patio into a place people never rush to leave.
Frequently Asked Questions
Q1. How should you choose wind and snow ratings?
Request stamped engineering for the address. Ratings should include reference to the ASCE 7 wind maps and site ground-snow load. Verify post anchorage requirements and allowable spans. In storm areas, select a corrosion-resistant finish; optional rain/wind sensors may automate the louvers' position during weather activity.
Q2. Can you attach a pergola to the house?
Yes, provided the system is qualified for attachment to walls. With flashing properly done, through-bolting to the structural framing (not the brick veneer alone), and an expansion joint. Keep eaves and vents clear. Insist upon a structural pro checking fasteners and loads before ordering.
Q3. How safe is the best way of placing heat under a pergola?
Electric infrared heaters are the simplest: weather-rated units, correct mounting height, and listed clearances to combustibles. Gas models need greater overhead and lateral clearances. Under louvered roofs, maintain ventilation; never trap heat at the ceiling. Follow the heater manufacturer’s installation manual.
Q4. How can one prevent bugs without having to cover the region?
Use retractable ZIP screens or fine insect mesh that is mounted in vertical tracks. Darker meshes help keep the view outside clear; solar fabrics (90–95%) help control glare. Choose wind resistance suitable for your area and make sure the bottom seals touch the deck to minimize gaps.
Q5. What routine maintenance helps a pergola stay looking new?
Clean powder-coated aluminum twice a year using mild soap and water. Clean downspout and gutter once a season. Grease movable parts by approved silicon products. Examine anchors and fasteners at least once a year and tighten them when needed. Never use abrasive pads, heavy chemicals, or high-pressure washers at short distances.